When it comes to healthier desserts, we have a handful of staples up our sleeve. From low calorie ice cream, protein desserts, to those using cottage cheese, we tick all the boxes. After sharing my Ninja creami recipe, I had tons of requests for more frozen desserts made without an ice cream and hence, this blender ice cream was born!
Why you’ll love this blender ice cream recipe
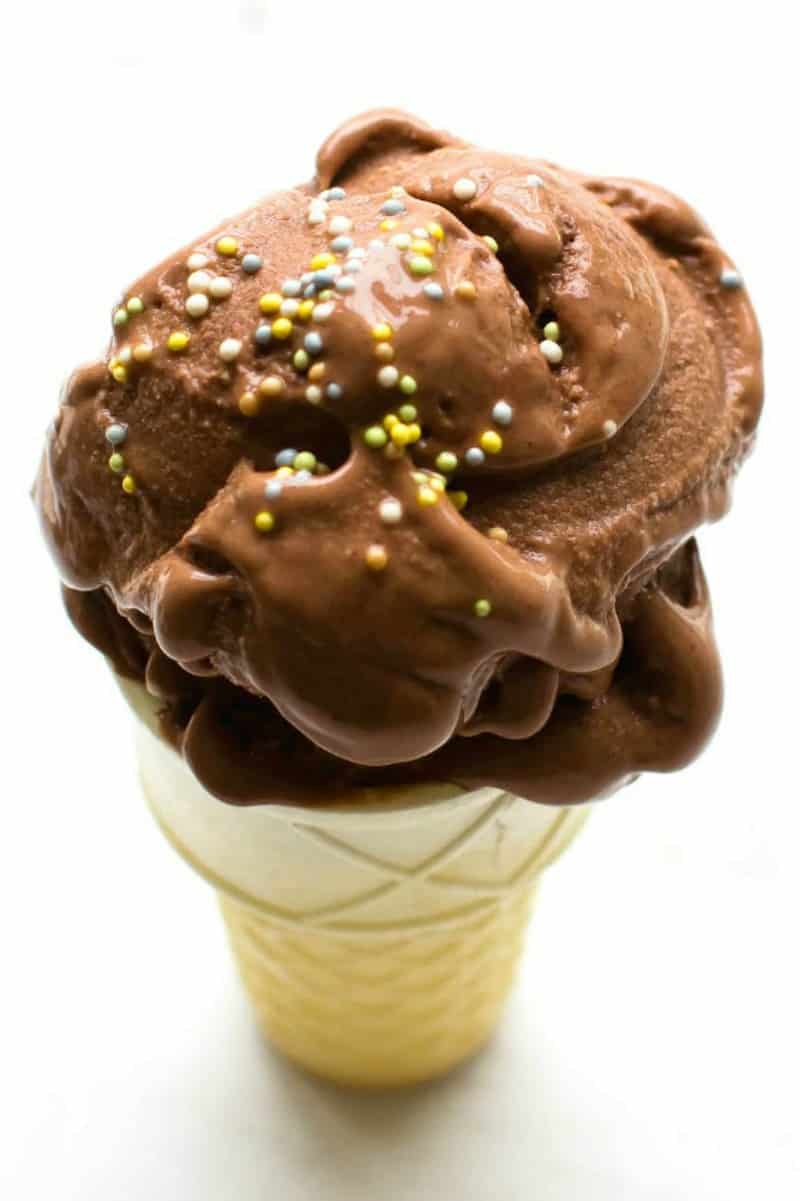
3 ingredients. All you need are bananas, cocoa powder, and a nut or seed butter. Secretly healthy. No dairy, no refined sugar, and no oil! Rich and creamy. Like paleo ice cream, for such a guilt-free dessert, you won’t believe how perfect the texture is. Diet friendly. This is kid friendly, gluten-free, dairy-free, and even vegan!
How to make ice cream in a blender
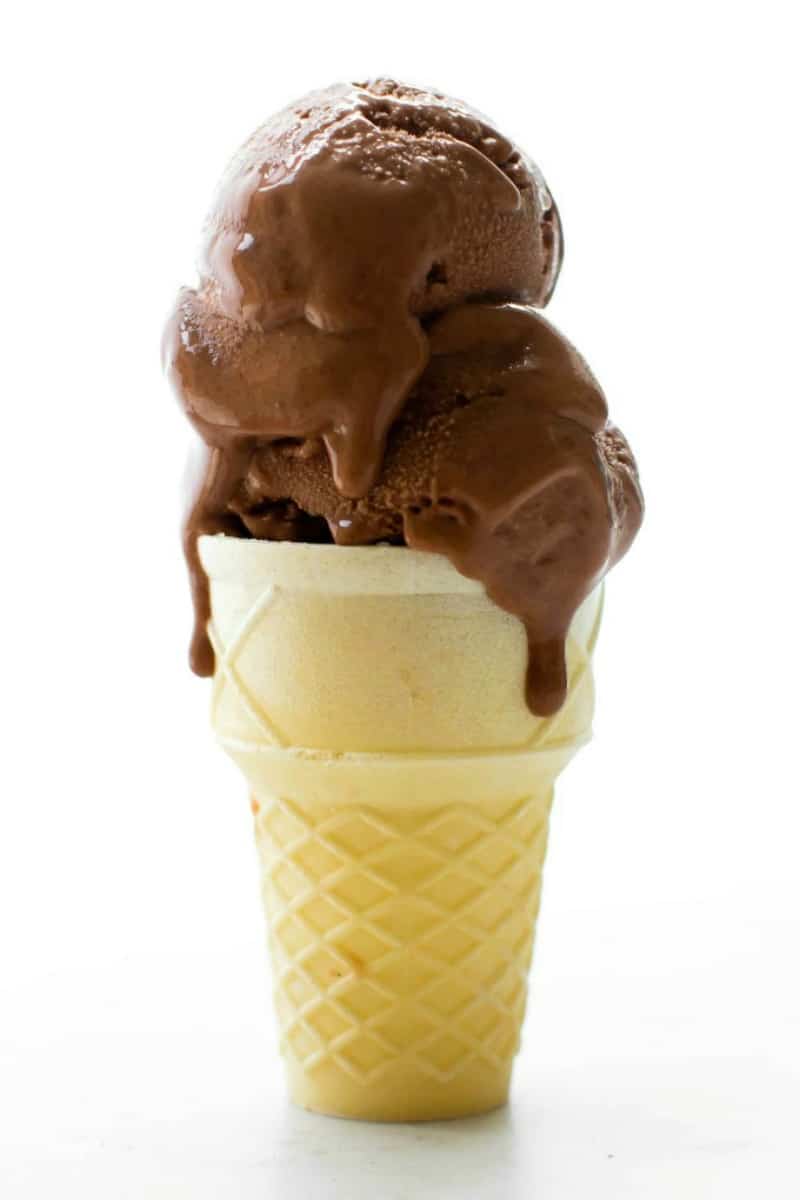
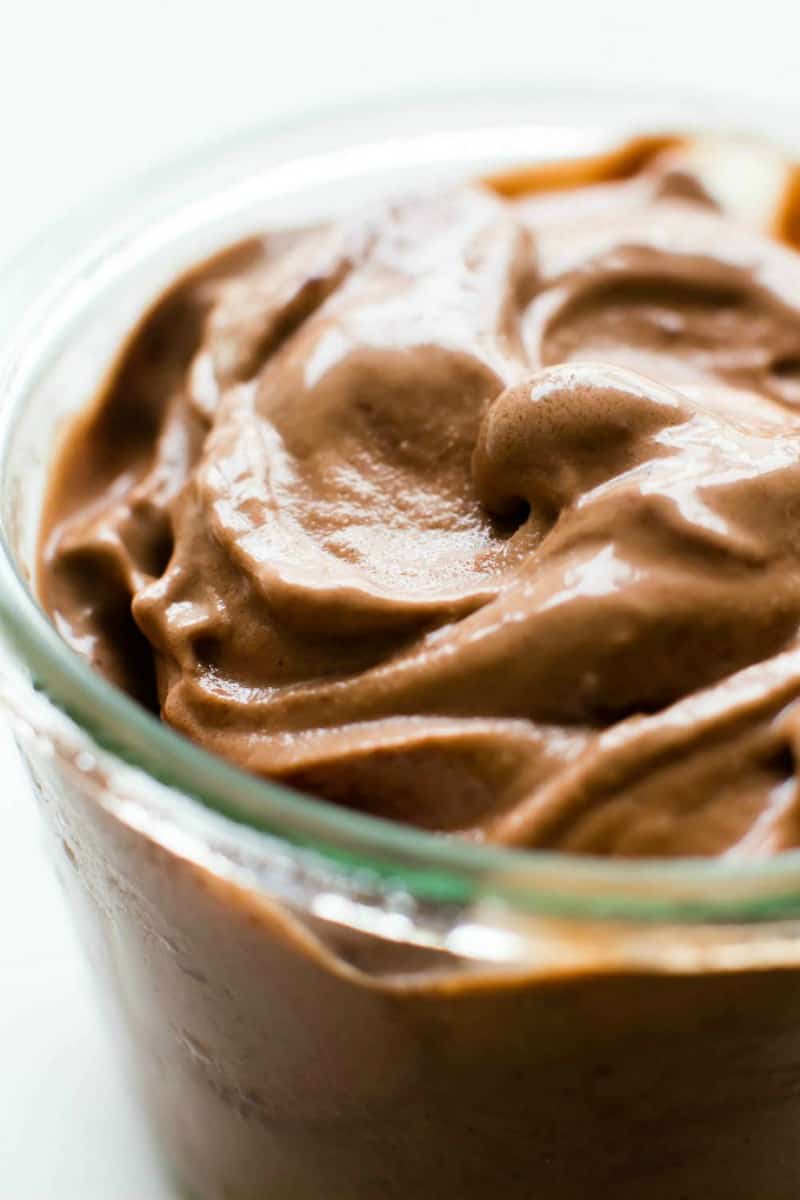
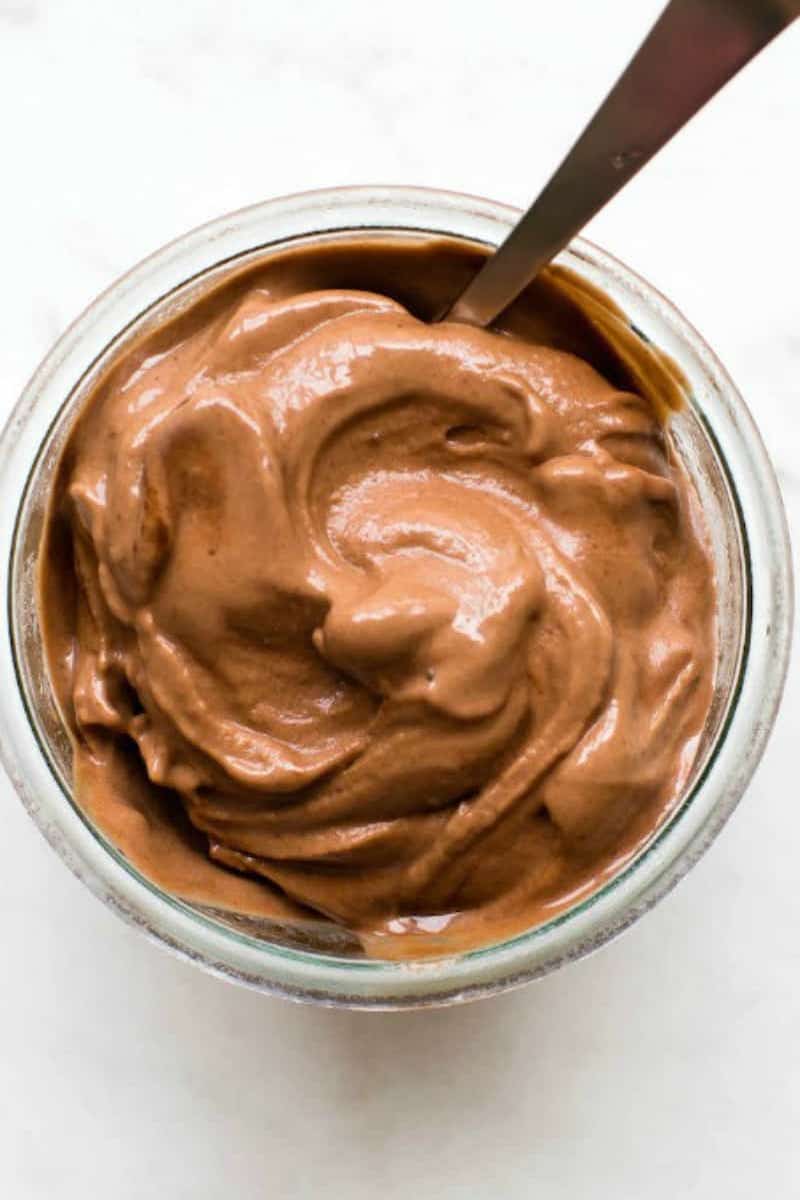
This blender ice cream is so simple to make! What I love about it is you choose your preferred texture! You can enjoy this ice cream either with a soft serve consistency or like hard scoop ice cream.
The Ingredients
Frozen bananas– You must use frozen bananas otherwise you will be left with a smoothie. I recommend chopping up your frozen bananas to cut down on the blending time and for easier blending. Cocoa powder– Use a good quality cocoa powder, to really bring out the chocolate flavor. To really hide the banana flavor, I recommend using dark cocoa powder. Peanut butter– Smooth and creamy peanut butter, with no added sugar or salt.
The Instructions
Start by adding your frozen banana into a high speed blender, followed by your cocoa powder and peanut butter. Blend very well, until thick and smooth. Transfer to a bowl and enjoy immediately, or freeze to enjoy later.
Tips to Make the best recipe
Regularly scrape down the sides of the blender to ensure all the ingredients are properly combined. If you’d prefer soft-serve consistency, enjoy the ice cream immediately after blending it. Blender ice cream is naturally sweetened. If you’d prefer a much sweetener ice cream, add a tablespoon or two of your favorite sweetener (coconut sugar, maple syrup, etc). If you plan to freeze the ice cream to enjoy it hard scoop style, freeze a loaf pan for 1 hour prior to making it. This will help the ice cream naturally freeze and be much less icy. Add flavor extracts for some richness. Vanilla extract, almond extract, and even chocolate extract are all fantastic options.
Flavor variations
This blender dessert is truly a blank canvas that you can adapt in many ways! Here are some ideas:
Strawberry Banana Ice Cream– Omit the cocoa powder, and add 1/2 cup of frozen strawberries. Mint Chocolate Chip Ice Cream– Omit the cocoa powder, add peppermint extract, chocolate chips, and optional green food coloring. Coffee Ice Cream– Add 1/2 teaspoon espresso powder. Mango Ice Cream– Omit the cocoa powder and add 1/2 cup of frozen mango cubes. Pineapple Ice Cream– Omit the cocoa powder and peanut butter, and add 1 cup of frozen pineapple.
Storage instructions
Leftover ice cream can be stored in the freezer, provided you intend to consume it within 1 week. Place it in a freezer-safe container and let it thaw at room temperature for 15-20 minutes, before enjoying it. If your ice cream happens to be too icy, wait until it has softened and re-blend it for 1-2 minutes.
Recommended tools to make this recipe
Blender. The magic tool to create this creamy dessert. Food processor. No blender? A food processor works just as well! Ninja creami machine. A little cheat, but if you own one of these gadgets, this works too!
More healthy ice cream recipes you’ll enjoy
Peanut Butter Ice Cream Superman ice cream Rolled ice cream Coconut Milk Ice Cream Strawberry Ice Cream Matcha ice cream
Frequently asked questions