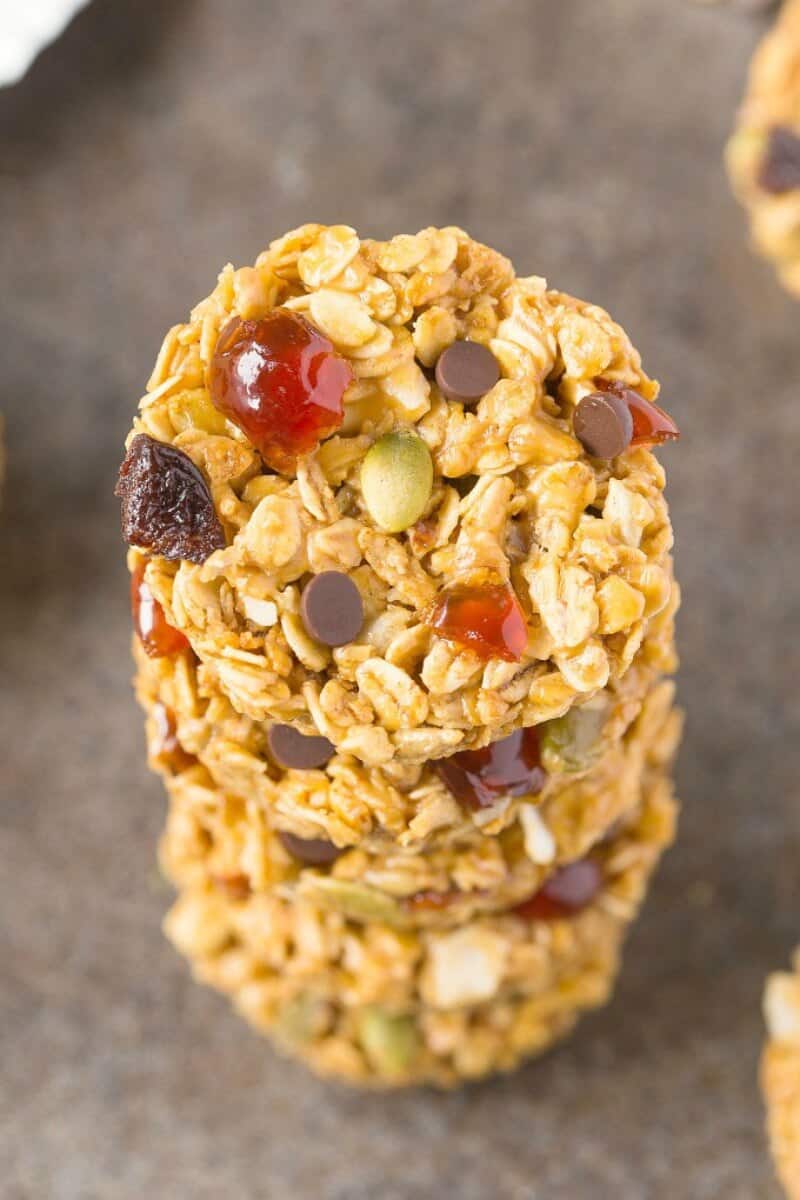
Craving more healthy no bake snacks? Try my healthy granola bars, homemade protein bars, and peanut butter oatmeal balls. My recipe for granola cups combines two of my favorite treats- peanut butter cups and healthy granola. With the shape and flavor of peanut butter cups and the wholesome ingredient list in homemade granola, these chewy granola bar cups are incredibly satisfying and make snack time feel like a treat.
Why I love this recipe
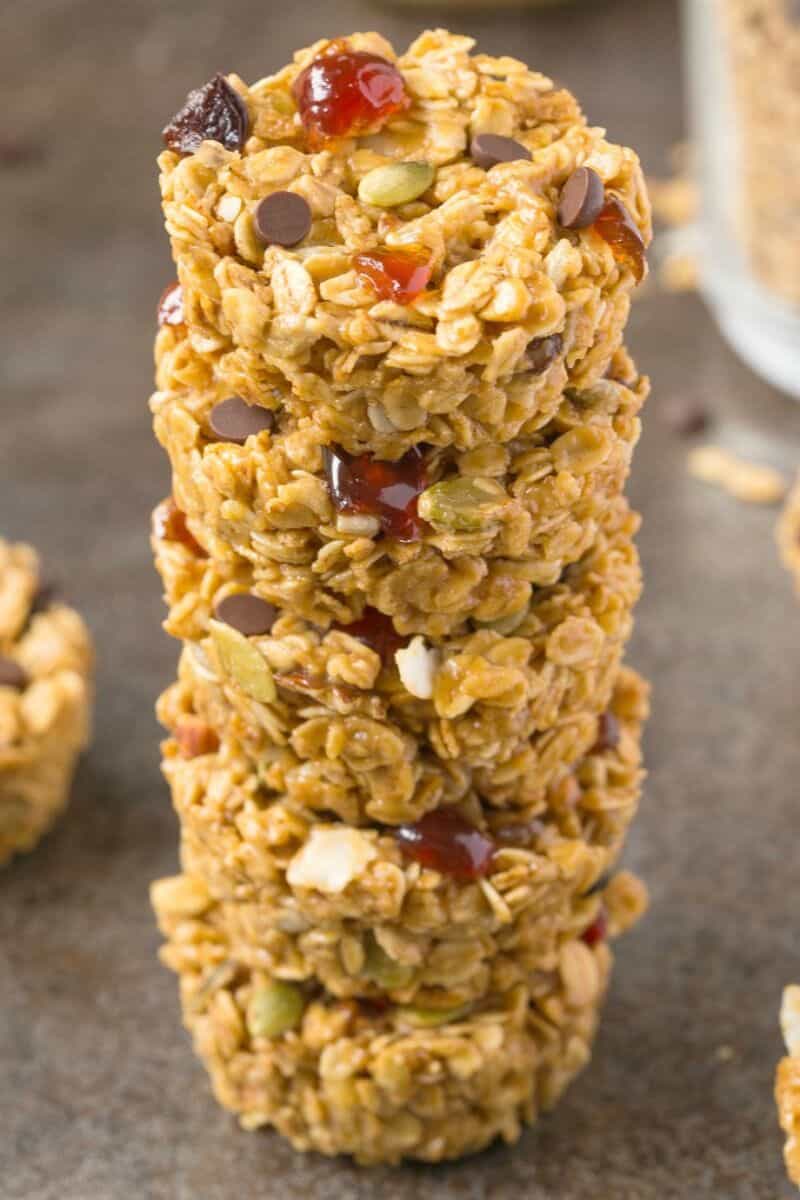
Just 3 ingredients. All you need is granola, peanut butter, and maple syrup. Customizable. Use whatever homemade granola you like and fill your cups with countless delicious fillings. The options to customize are seriously limitless. Healthy. Each cup has 6 grams of protein, plus they’re naturally vegan, free of refined sugar, and easy to make gluten-free. Perfect for meal prep. These cups make the perfect snack or addition to your kid’s lunches. Personally, I have to hold myself back from snagging one out of the fridge every time I pass by!
Ingredients needed
Granola. I have tried this with my healthy granola and chocolate granola. If you’d like to use a store-bought granola, stick to one with reduced sugar and no hydrogenated fats. You can also use muesli, too. Peanut Butter. Smooth and drippy peanut butter, so it can be thinned out with the syrup/honey. Again, try to use sugar-free peanut butter. Honey OR maple syrup. Either honey or maple syrup can be used. Honey provides a thicker and better consistency, but maple syrup also works, which works well if you’d like these cups to be vegan.
How to make granola cups
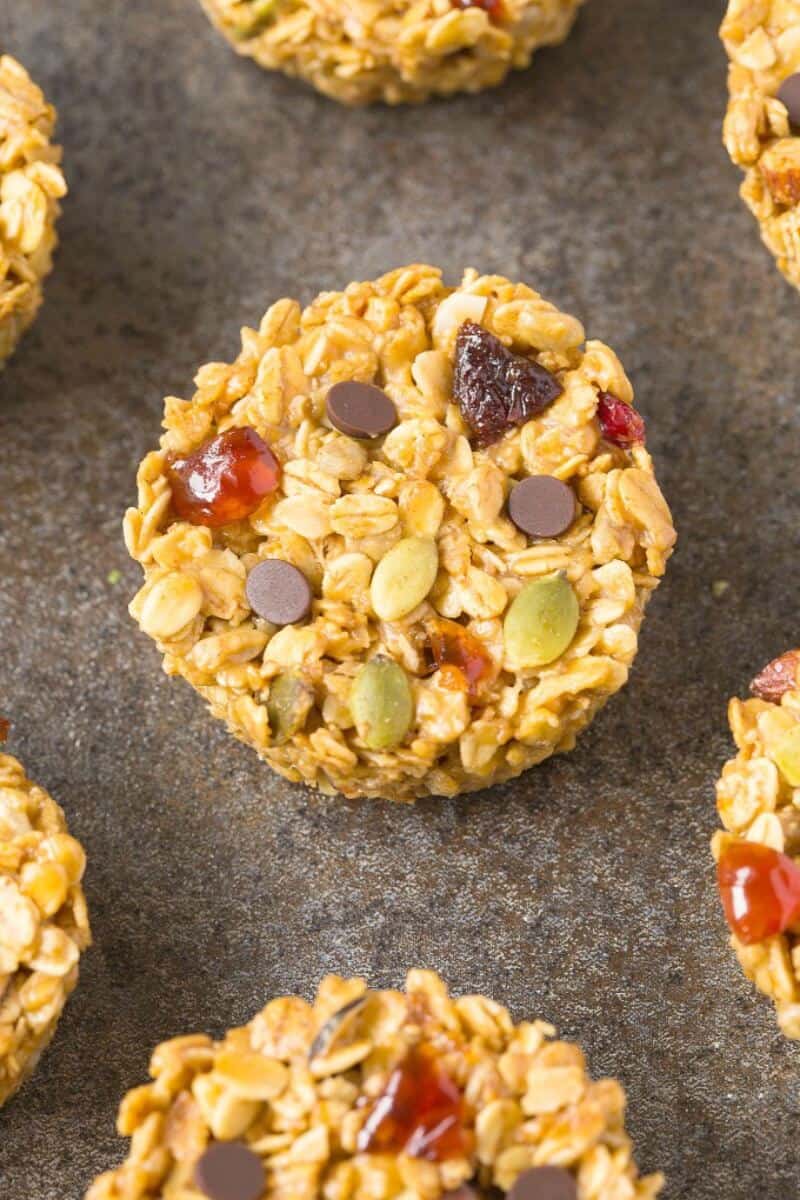
I’ve included step-by-step photos below to make this recipe easy to follow at home. For the full printable recipe instructions and ingredient quantities, scroll to the recipe card at the bottom of this post. Step 1- Prep. Grease a 12-count muffin tin with nonstick cooking spray. Step 2- Combine ingredients. In a large mixing bowl, add the granola. In a small saucepan or in the microwave, melt the peanut butter with the maple syrup. Pour the peanut butter mixture over the granola and mix until fully combined. Step 3- Shape. Distribute the mixture evenly among the 12 muffin tins and refrigerate for at least an hour before adding filling or serving.
Arman’s recipe tips
Break up large clusters of granola. If the granola I’m using is full of large clusters or loads of mix-ins (like dried fruit or nuts), the cups won’t keep their shape. In this case, I’d recommend lightly blending the granola in a food processor to break up the big chunks. Use a silicone pan. If you have a silicone muffin pan, they’ll come out even easier. Bake the cups. To make crispier, less chewy cups, add a small amount of butter or coconut oil to the batter. Once the cups are shaped, bake them in an oven preheated to 350F for 10-12 minutes.
Storage instructions
To store: Granola cups should be stored in the refrigerator, covered, at all times. They will keep fresh for up to 4 weeks.
Yogurt. With a greased spoon, press down in the center of the cups to form a well, and fill it with your favorite non-dairy yogurt. Fruit yogurt. Form a well in the middle and fill it with yogurt, fresh berries, chopped kiwi, mango, or banana slices. Chocolate. Fold ¼ cup of cocoa powder into the batter and top with chocolate chips. Chocolate coconut. Fold in 2 tablespoons of shredded coconut into the batter and form a well to fill with melted chocolate.
To freeze: Place leftovers in a ziplock bag and store in the freezer for up to 6 months.
More healthy snack recipes to try
Candied pecans Pumpkin protein bars Banana bread energy bites Almond butter balls Kind bars