Love easy snack recipes? Try my fruit leather, peanut butter oatmeal balls, veggie chips, and air popped popcorn next. It’s no secret that I love to make my family homemade snacks, especially because I know what goes in them and honestly, they are cheaper too (hello, cost of living crisis!). My homemade cereal bars are one of our weekly staples, and they taste exactly like a packaged cereal bar, minus the laundry list of ingredients, excess calories, excess sugars (yes, plural!), and butter.
Why I love this recipe
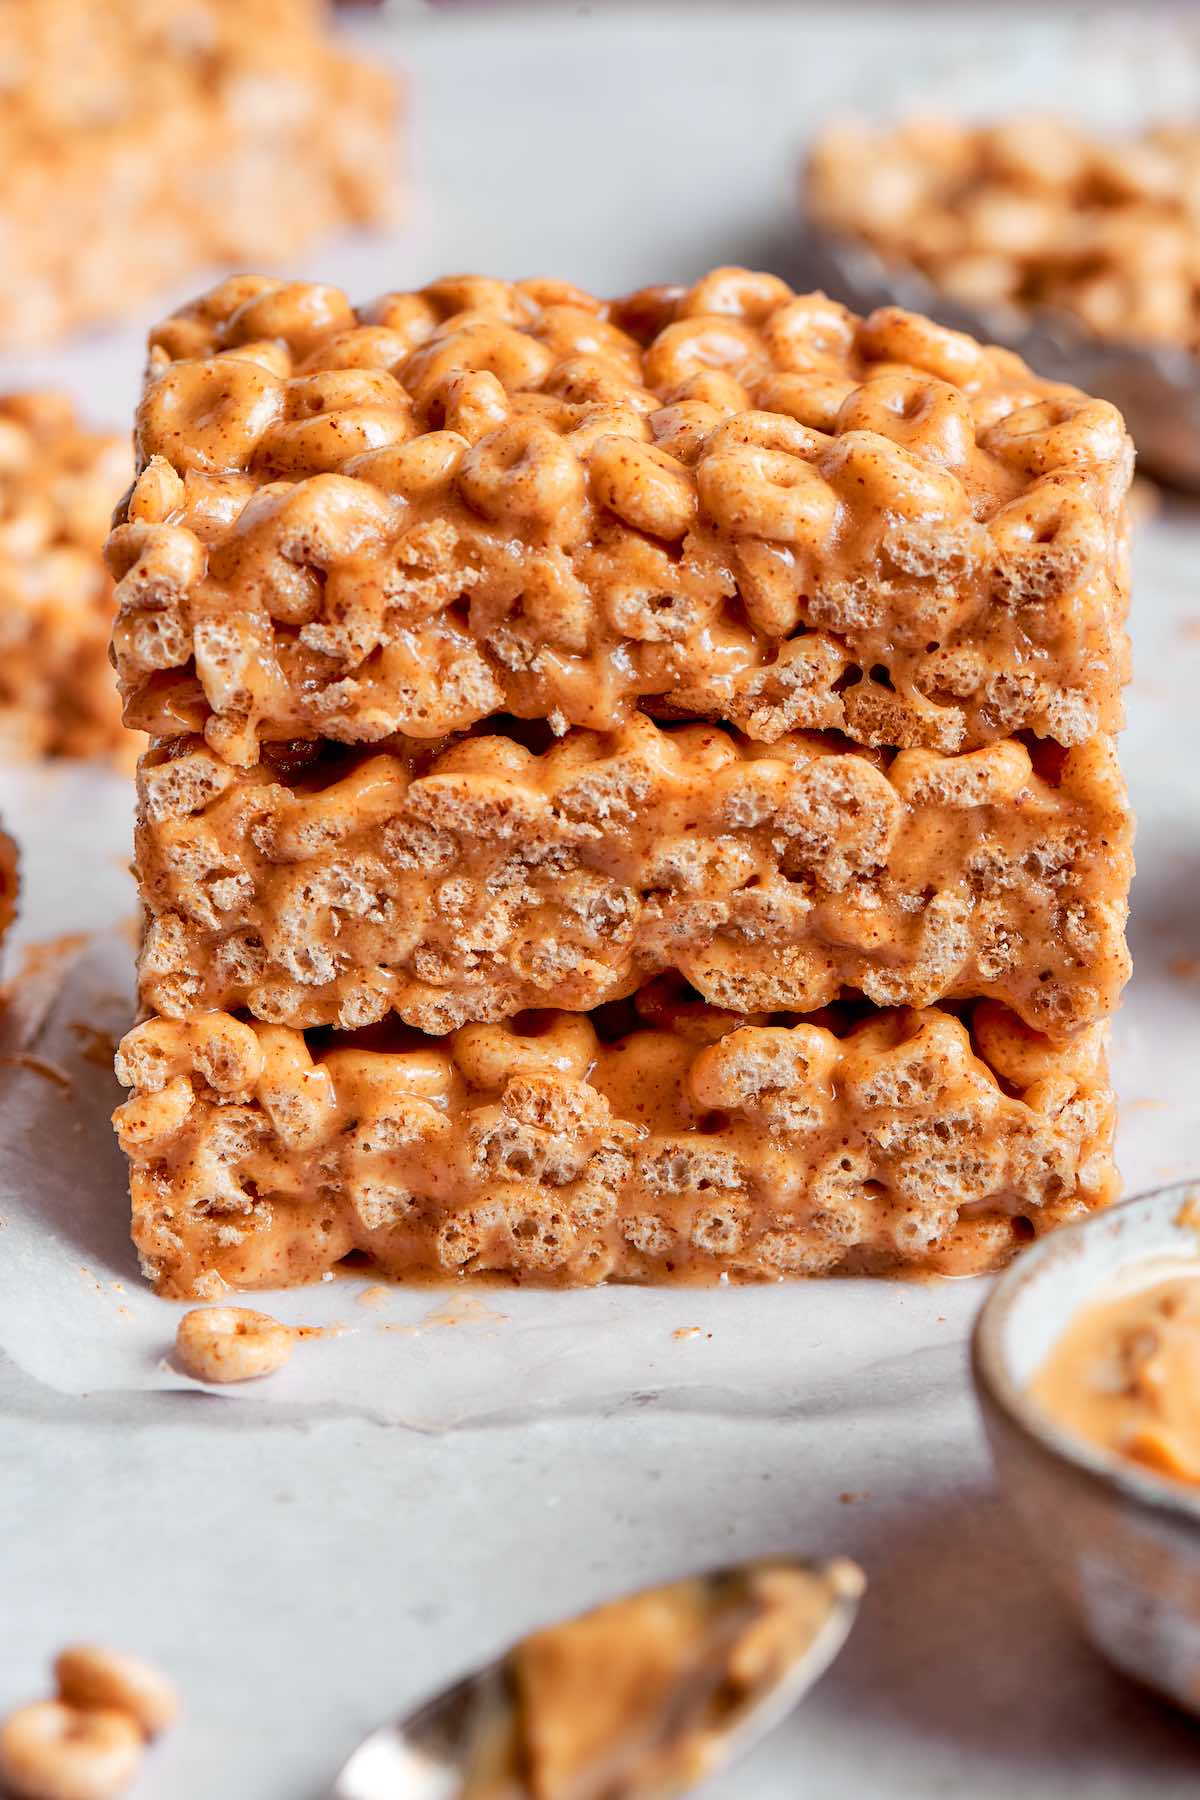
Just 3 ingredients. Cereal, a sticky sweetener, and nut butter are all you’ll need. Diet friendly. My recipe is naturally vegan and gluten-free, and can easily be made dairy-free, too. It’s ready in 5 minutes. All you do is mix it up, transfer it to a pan, and wait for it to set. It’s easy to customize. You can change up the cereal, add flavor extracts, and use other nuts or seed butter—the possibilities are endless!
Ingredients needed
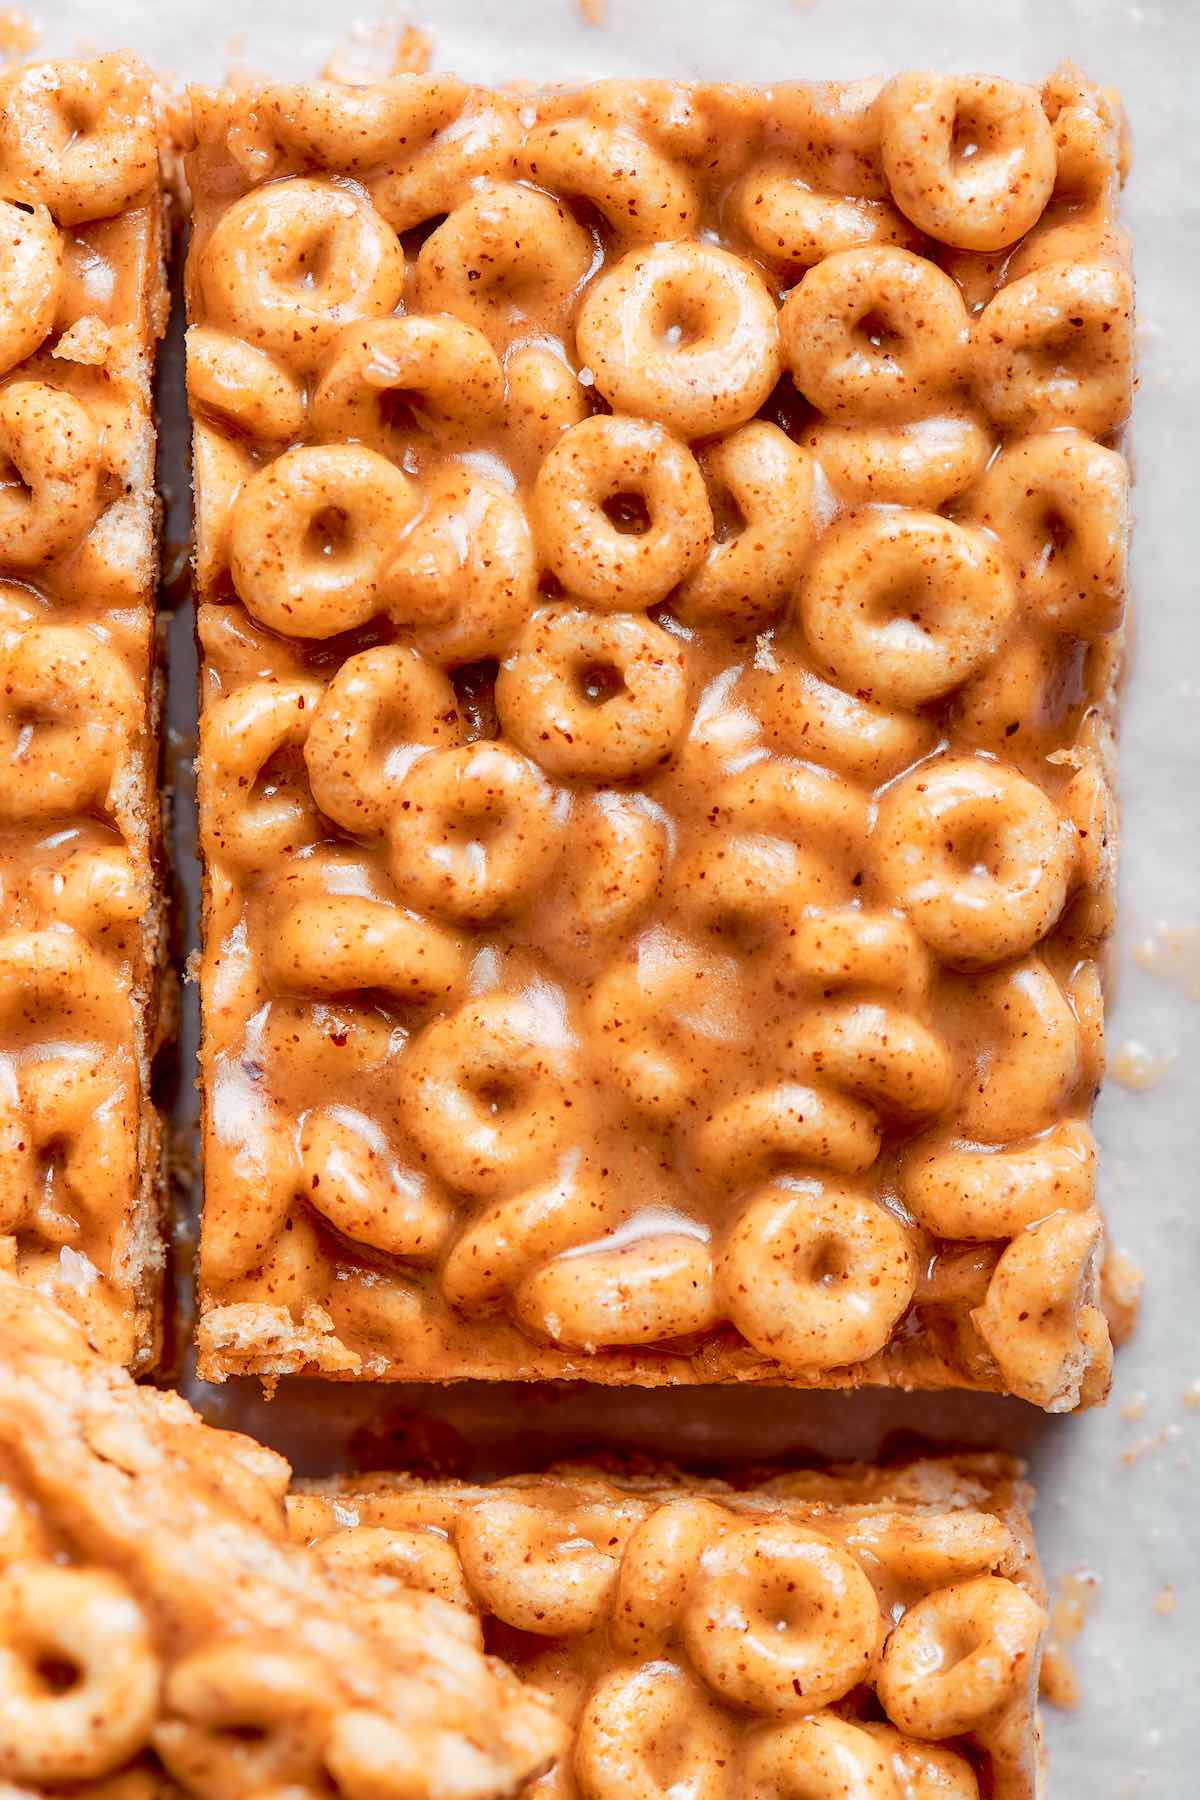
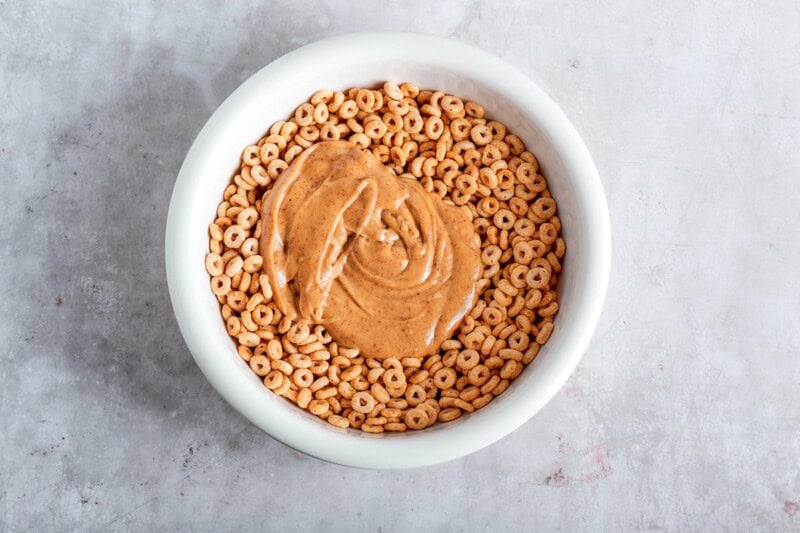
Cereal. Any crispy cereal works, including Cheerios, special K cereal, or even rice krispies. I like to look for ones that are made with whole grains and have added vitamins and fiber to them. Maple syrup. Binds everything together and adds some sweetness. You can also use honey or brown rice syrup, but you’ll likely need to add a little extra cereal to prevent them from becoming soggy. Almond butter. Smooth almond butter with no added sugar or salt.
How to make cereal bars
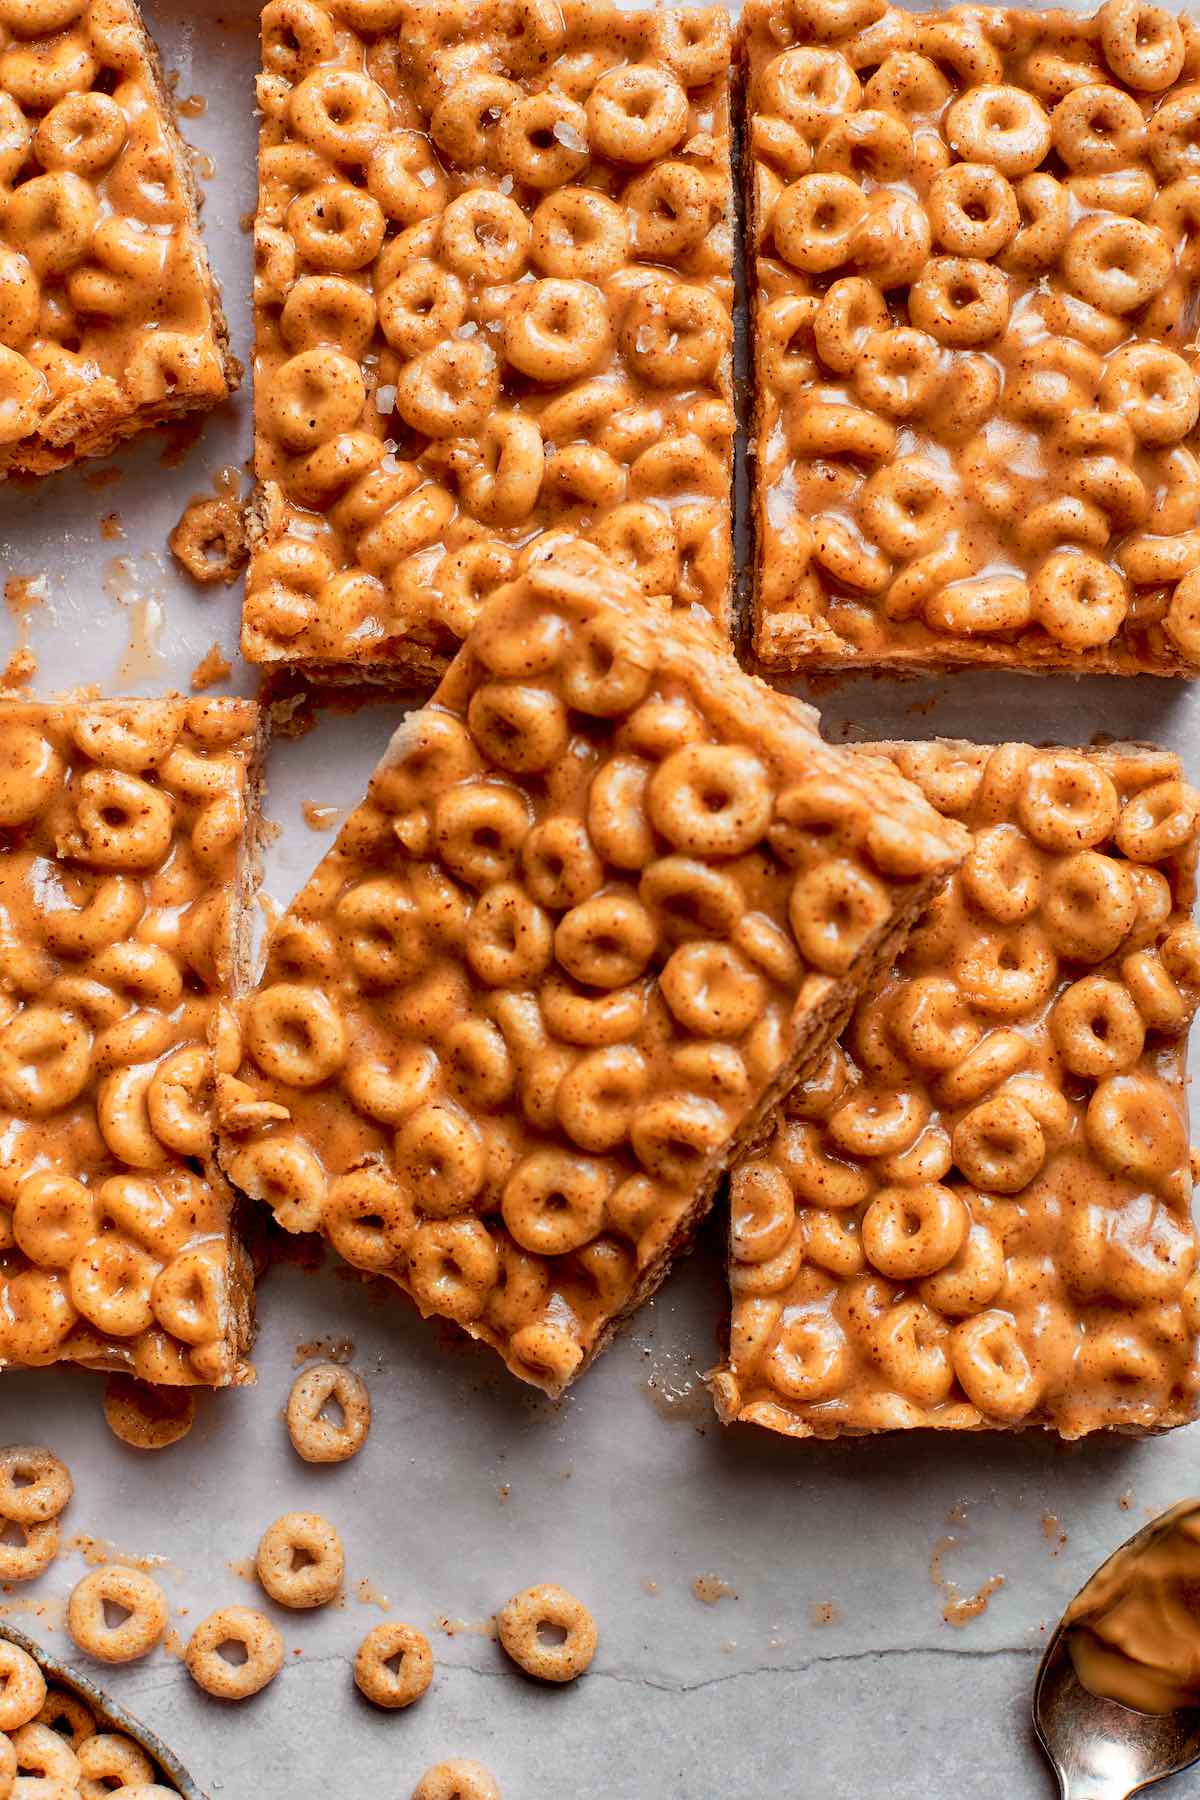
I’ve included step-by-step photos below to make this recipe easy to follow at home. For the full printable recipe instructions and ingredient quantities, scroll to the recipe card at the bottom of this post. “I made these bars with Cheerios, American Dream Peanut Butter Cheesecake, peanut butter, and Maple Syrup. Simple and Delicious” – Molly
Arman’s recipe tips
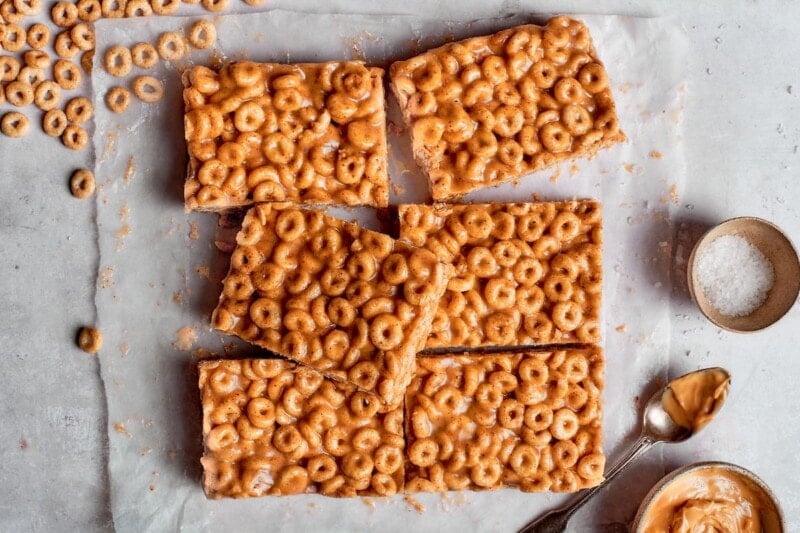
Use a crispy cereal. No one wants soggy or soft cereal bars, so make sure you start with fresh and crisp cereal. Check the expiration date and discard any crushed pieces. Avoid overmixing. Similar to the earlier point about crispy cereal, another reason why the cereal could soften is due to overmixing. Prevent this by mixing everything together slowly and just until the cereal is mixed in. Always use a sharp knife when cutting these into bars to prevent them from crumbling or falling apart. Line the pan. Even for non-stick pans, I always line them with parchment paper. It makes cleanup a breeze and keeps everything in place. If you want some extra protein, make my protein cereal bars instead.
Storage instructions
To store: Avoid keeping these bars stored at room temperature as they are prone to becoming soggy. Instead, place them in an airtight container and store them in the fridge. They will keep well for up to two weeks. The beauty of this cereal bar recipe is just how easy it is to customize it with other ingredients or even add some fun ones to it. Here is what we’ve tried:
Make it almond-free. If you can’t tolerate almonds or are allergic, switch it out for peanut butter, sunflower seed butter, or tahini. Lower the sugar. Swap out the maple syrup for sugar free maple syrup or sugar free honey. Keep it gluten-free. Use a celiac-friendly cereal like Gluten Free Cheerios. Add mix-ins. Chocolate chips, white chocolate chips, peanuts, raisins, cranberries, freeze-dried strawberries, and toasted coconut flakes are all great additions. Drizzle with some melted chocolate for that extra dose of deliciousness.
To freeze: Place the bars in a ziplock bag and store them in the freezer for up to 6 months.
Frequently asked questions
More healthy snack bars
Healthy granola bars Homemade protein bars No bake oatmeal bars Protein granola bars
Originally updated November 2022, updated and republished July 2024