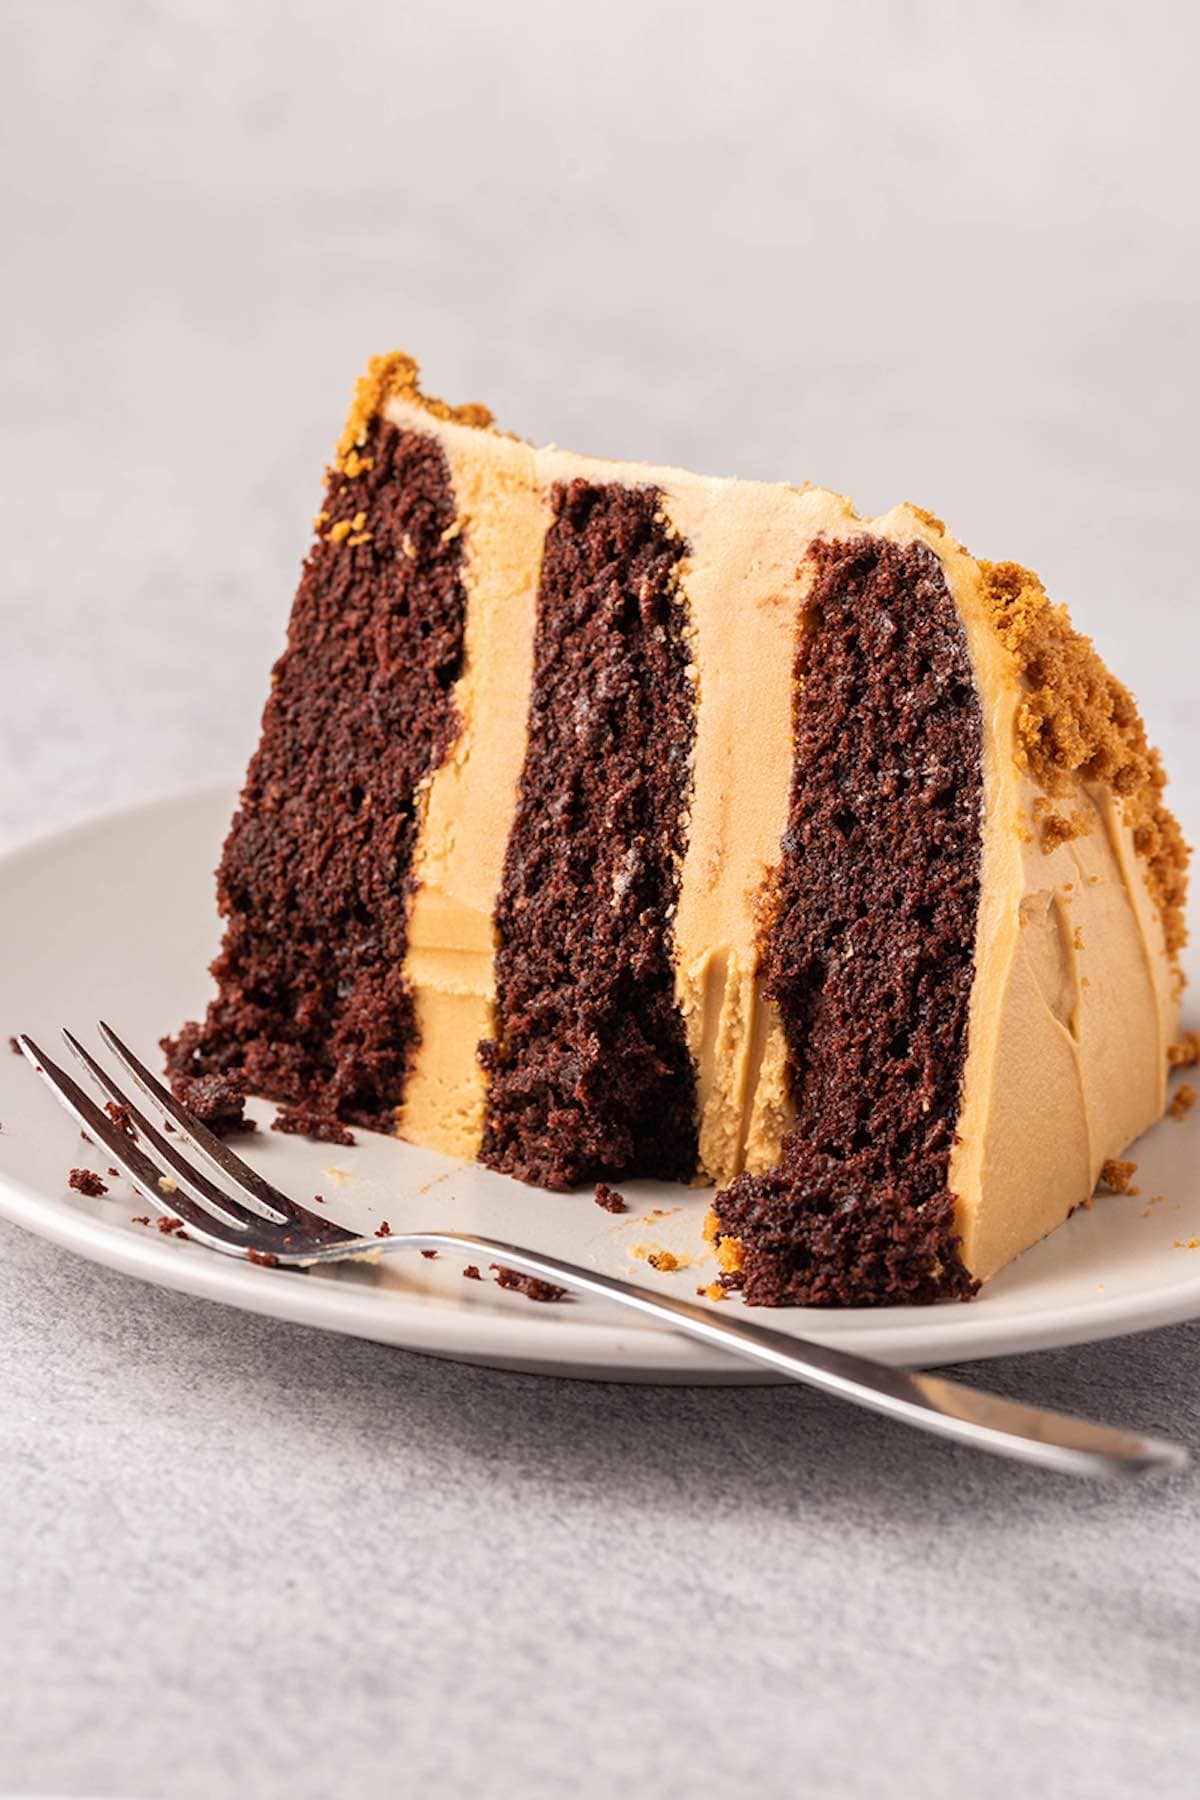
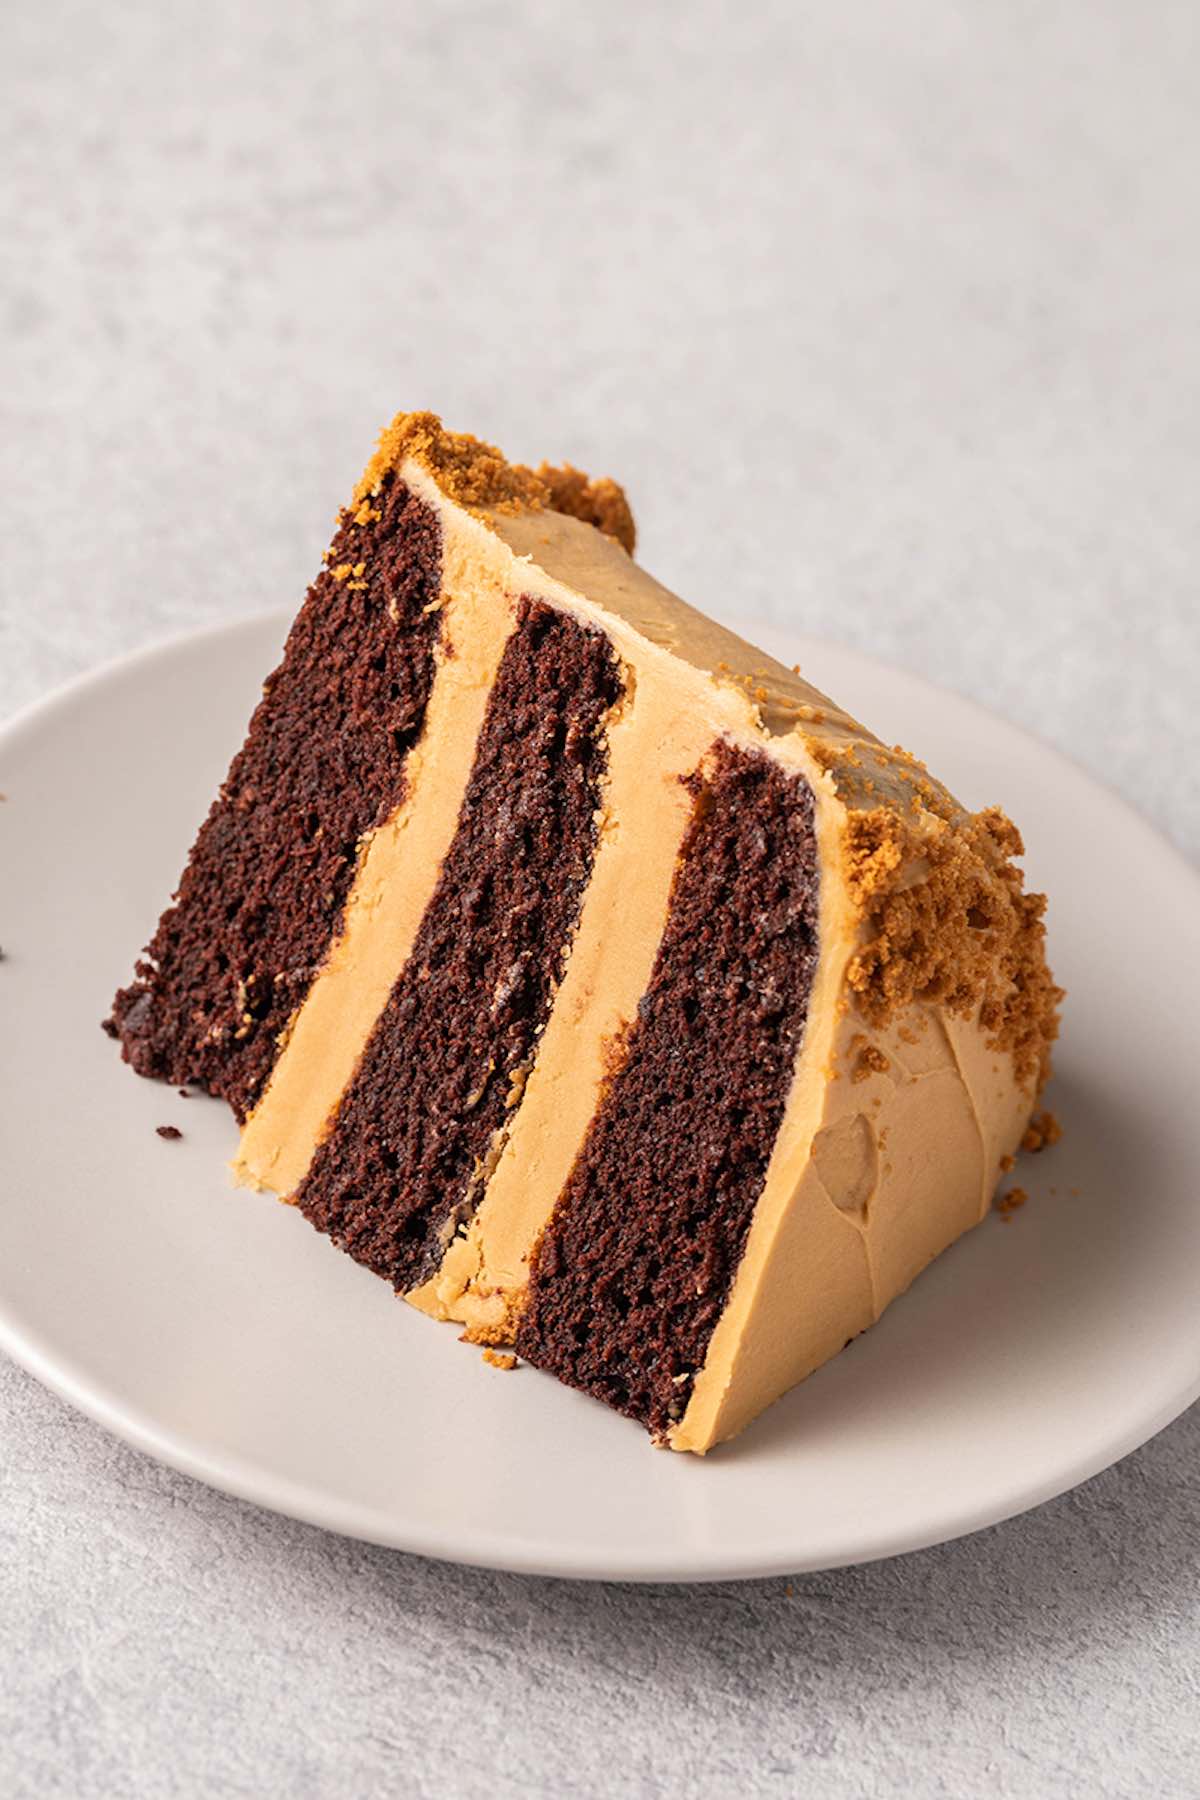
As much as I love peanut butter and Nutella, the MVP of spreads is Biscoff cookie butter. Not only is it delicious on its own, but it’s fabulous when used in desserts. Lately, I’ve been experimenting with using the popular cookie butter in all sorts of treats. Like with Biscoff cookies and Biscoff cheesecake, this Biscoff cake takes that same sweet, delicate caramel flavor and uses it to instantly level up any dessert.
What is so special about Biscoff?
Biscoff cookies, also known as speculoos cookies, are shortbread cookies infused with caramel and lightly spiced flavor. They get their name from combining “biscuit” and “coffee” since they fit seamlessly together. When blended into a thick and creamy Biscoff spread (cookie butter), you basically get the best of both worlds: rich peanut butter texture and sweet cookie flavor. Here are some reasons why I LOVE this recipe:
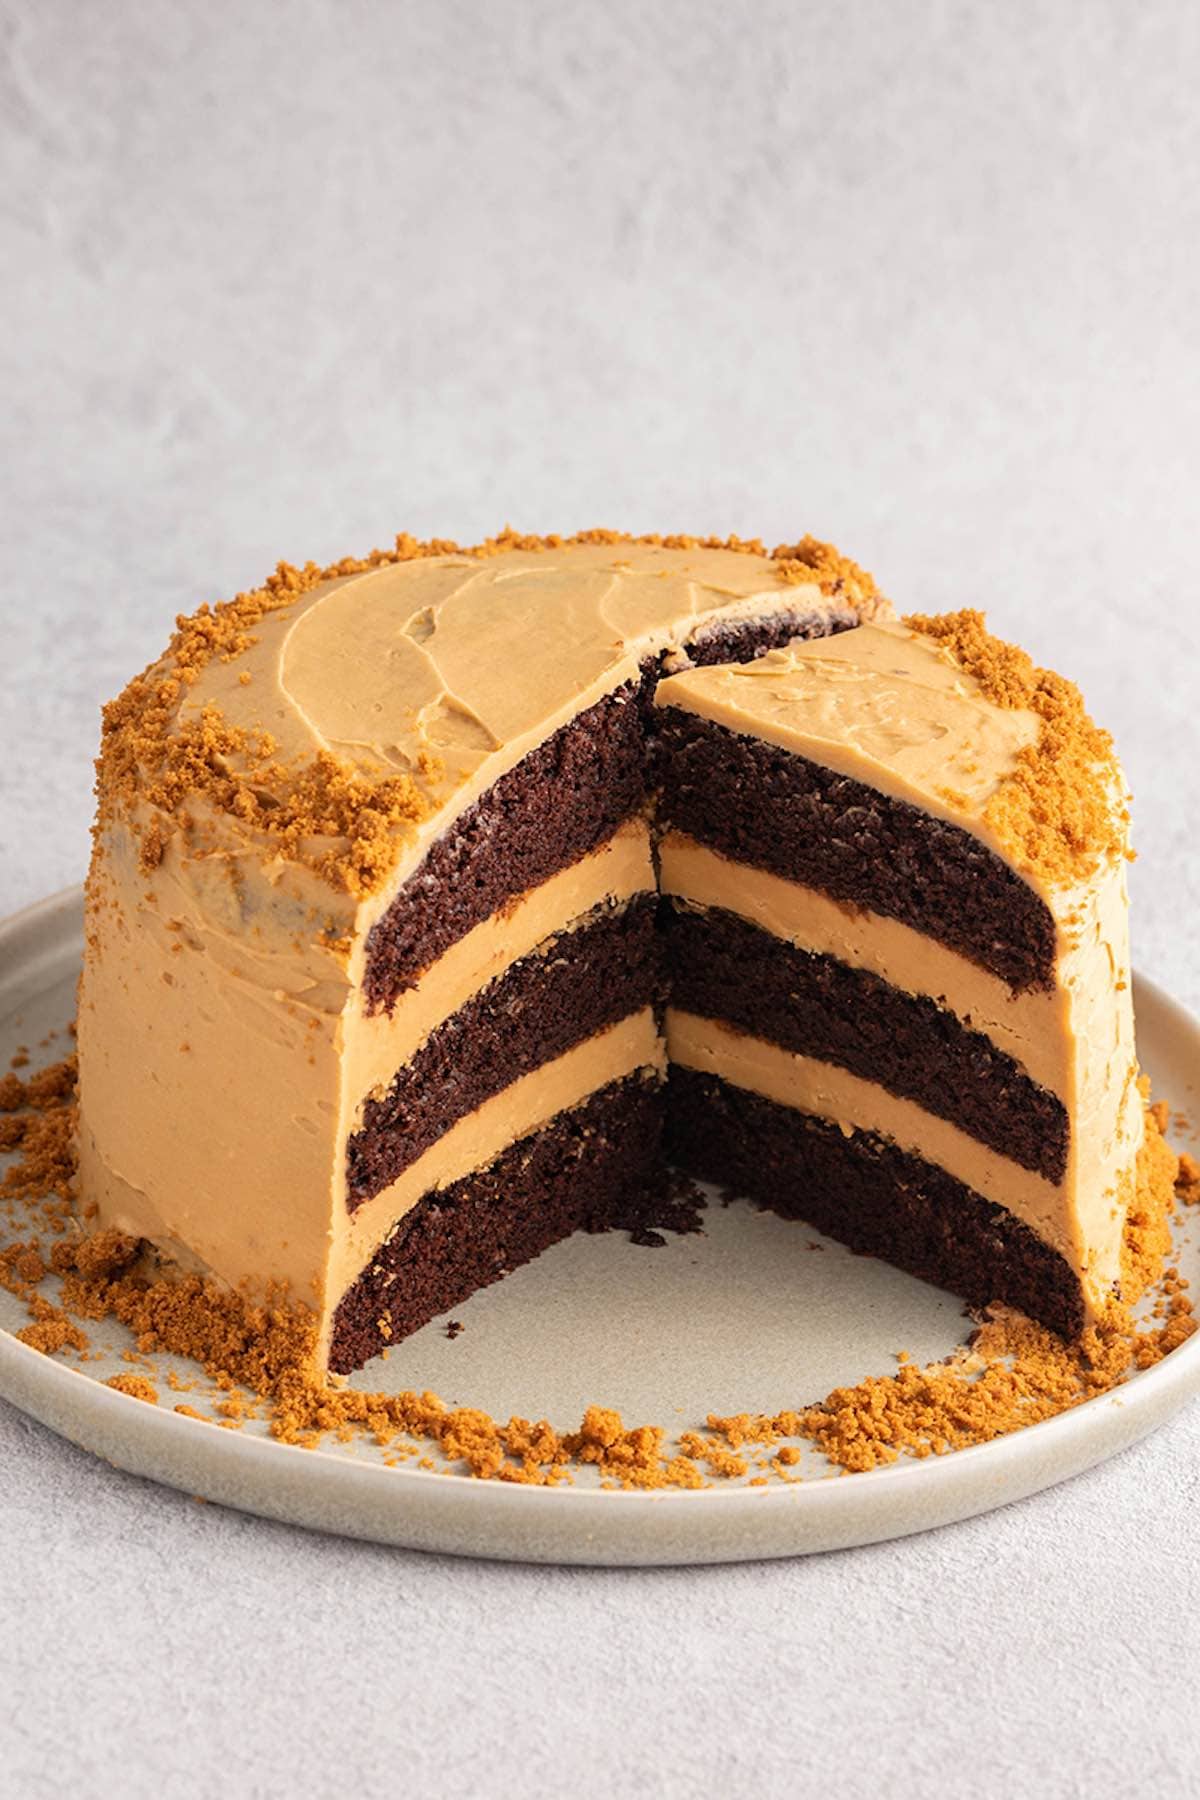
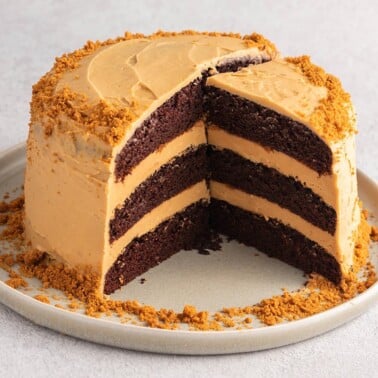
Bakes in under 30 minutes. And the prep time before that is just as quick. A showstopper. Like tiramisu cake or chocolate peanut butter cake, no one, literally no one, will be able to resist this gorgeous cake. It’s my secret weapon for birthday parties and get-togethers! Perfect for Biscoff lovers. If it wasn’t obvious enough, cookie butter is the star of this recipe. It pairs well with the chocolate without being overpowering. Simple ingredients. Like rainbow cake and Harry Potter cake, despite its presentation, this cookie butter cake comes together with simple baking staples.
Ingredients needed
As I mentioned, you only need straightforward baking staples to make this recipe. Here is what you will need for the cake:
All-purpose flour. Preferably sifted to remove any clumps. Use gluten-free flour if you need to, but make sure it has xanthan gum added; if it doesn’t, add ½ teaspoon. Cocoa powder. I used Dutch-processed unsweetened cocoa powder, but any type of cocoa powder will work. Sugar. I prefer white sugar over brown sugar in this recipe since the Biscoff will add plenty of caramelized flavor. Baking soda. For the cake to rise. Salt. To bring out the flavor of the other ingredients. Vinegar. Reacts with the baking soda to create air bubbles. I used white vinegar, but apple cider vinegar will also work. Vanilla extract. A must for any good cake recipe. Oil. For moisture and to bind the ingredients. I used vegetable oil, but any neutral oil will work. Milk. I used unsweetened almond milk, but you can use any dairy or non-dairy milk.
Frosting
Butter. I highly suggest unsalted butter since we’re already adding salt to the cake. Biscoff cookie butter. A must, of course! Powdered sugar. To thicken the frosting.
How to make a Lotus Biscoff cake
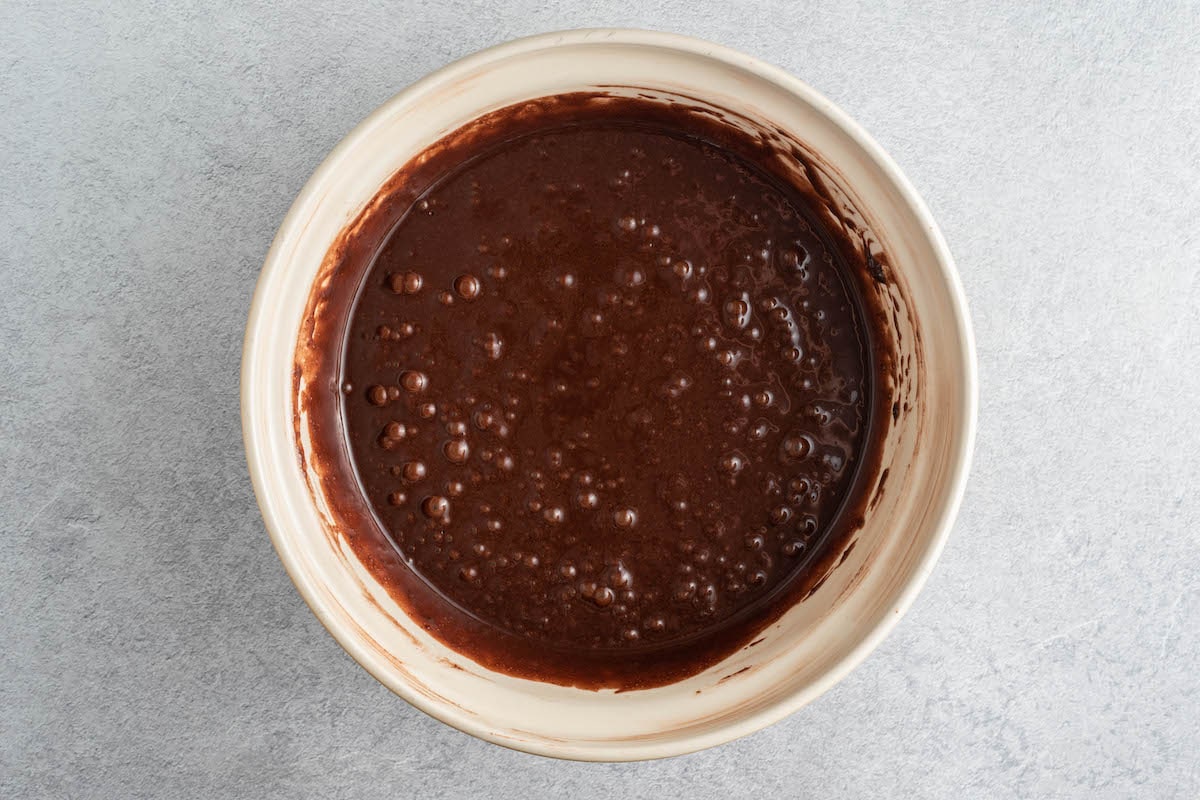
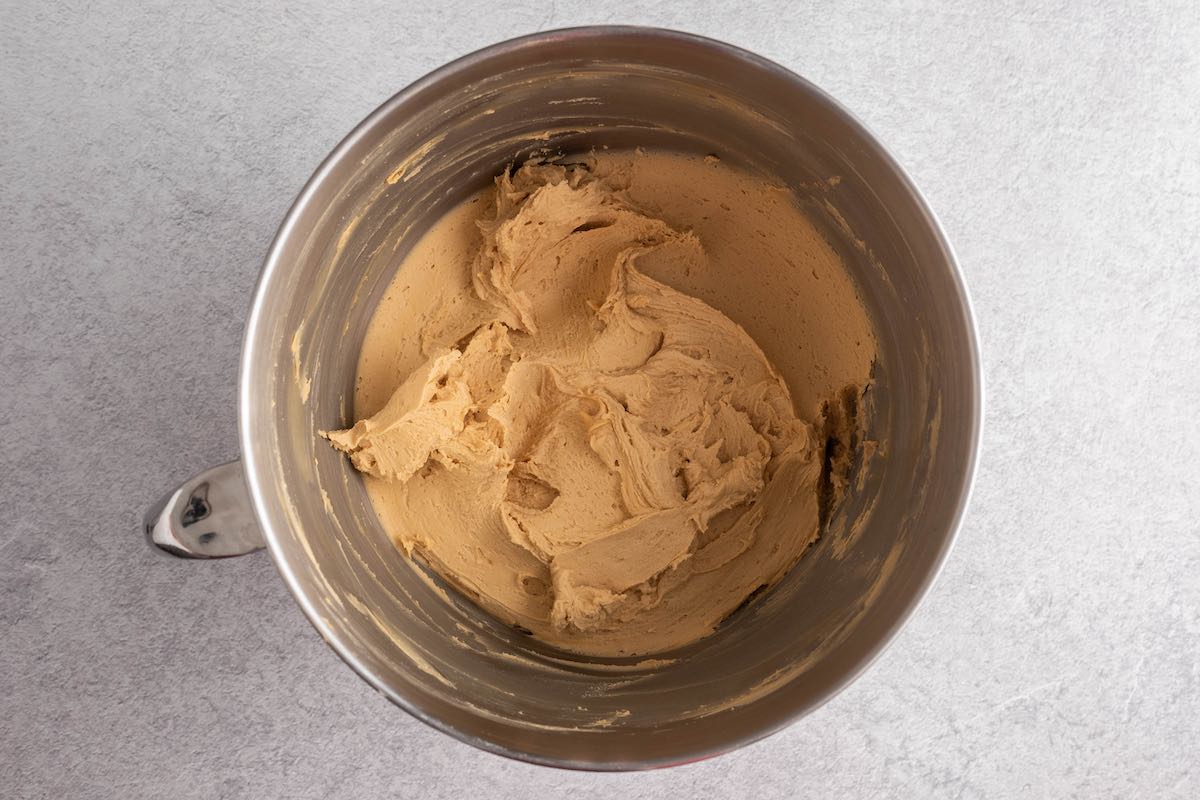
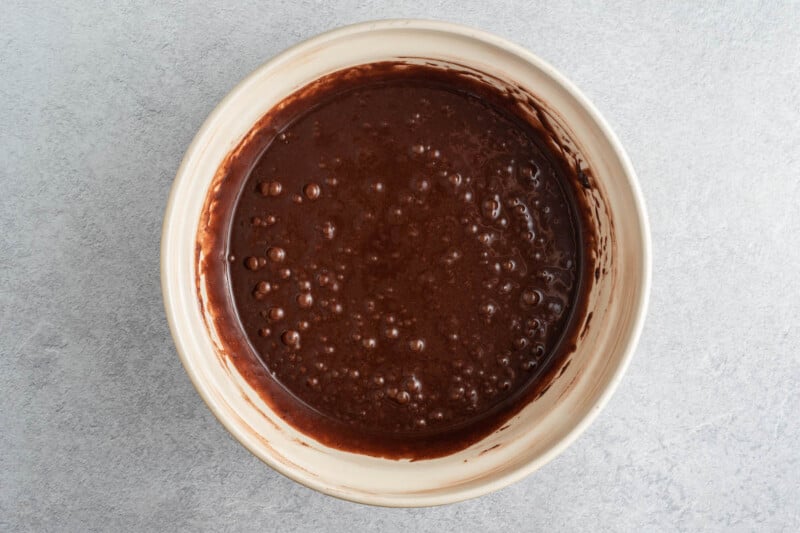
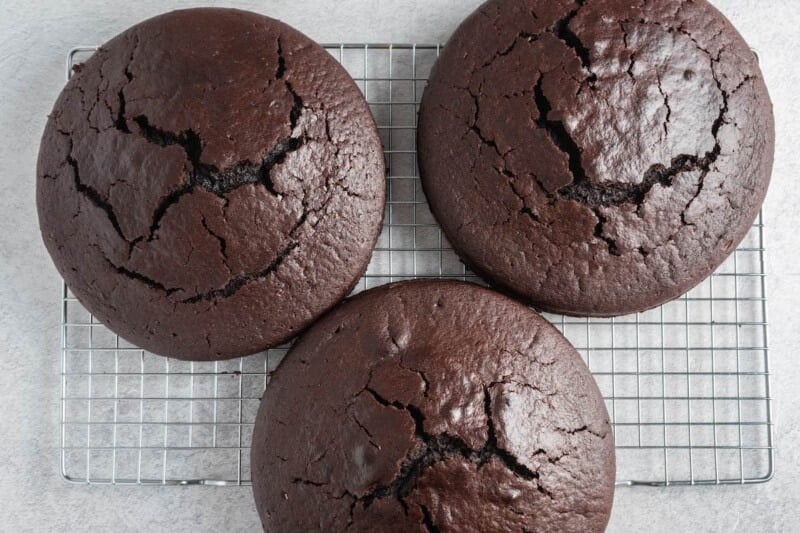
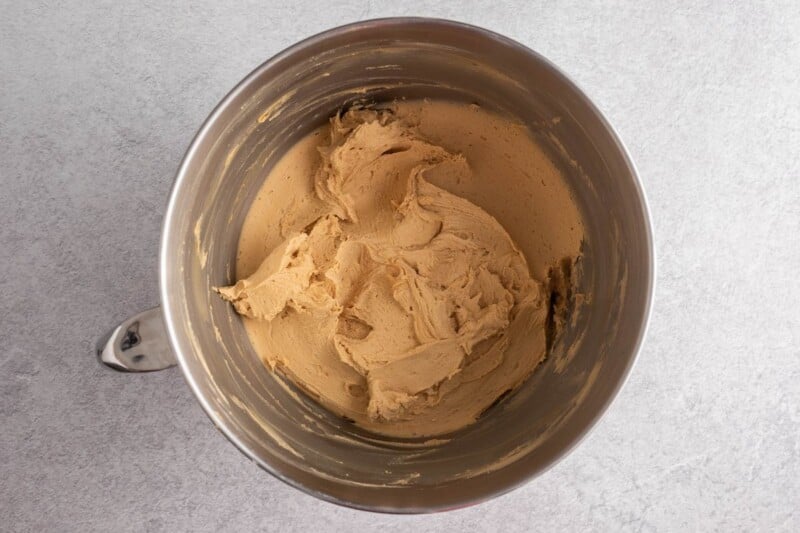
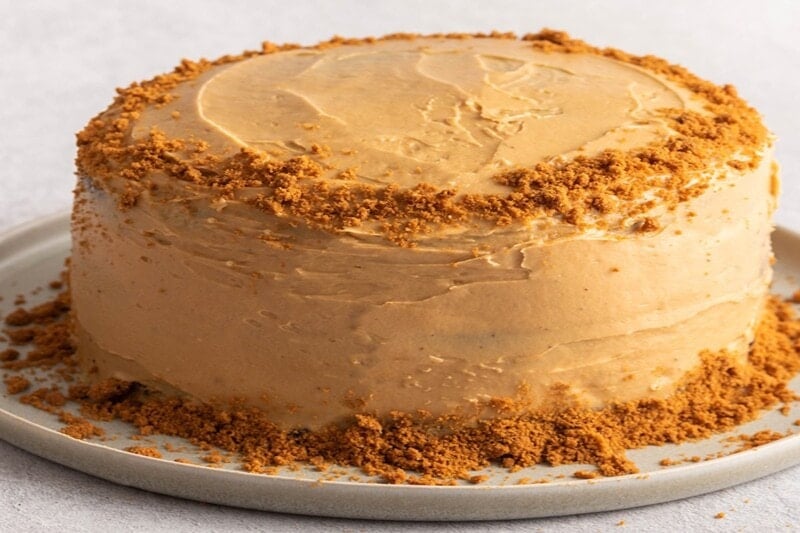
I’ve included step-by-step photos below to make this recipe easy to follow at home. For the full printable recipe instructions and ingredient quantities, scroll to the recipe card at the bottom of this post. Step 1- Prep work. Preheat the oven to 350F/180C, line 3 8-inch springform cake pans with parchment paper, and grease them with cooking spray. Step 2- Make the batter. In a large bowl or bowl of a stand mixer, add all of the dry ingredients and whisk to combine. Add the rest of the ingredients and stir until a smooth mixture remains. Step 3- Bake. Distribute the cake batter amongst the cake pans and bake for 25-27 minutes or until a skewer comes out mostly clean. Step 4- Cool. Remove the cakes from the oven and let them cool completely on a cooling rack before frosting. Step 5- Make the frosting. While the cakes are cooling, make the frosting. Beat the butter until fluffy. Add the Biscoff and powdered sugar and beat until smooth. Step 6- Assemble. Place the first cake layer onto a flat surface. Spread ¼ of the frosting over the top. Add the second cake layer and spread another ¼ of it on top of the cake layer. Place the final cake layer on top and frost the top and exterior of the cake.
Recipe tips and variations
Make a single-layered cake. If you’re too lazy to make a layered cake, cut the recipe in half and only bake one cake. I do it all the time! Or make Biscoff cupcakes instead. Transfer the batter to two cupcake pans lined with cupcake liners and bake them for 18-20 minutes. Let the cakes cool completely before frosting. Otherwise, the frosting will slip off. Change the texture of the frosting. Sometimes, the texture is too thin when I make the frosting, so I have to add more powdered sugar. If the frosting is too thick, add a little extra milk. Make a vanilla cake instead. Personally, I prefer the flavor of chocolate and Biscoff, but if you’d rather make a vanilla cake instead, you certainly can! Enhance the flavor. When I feel like going the extra mile, I’ll swap 3 tablespoons of milk with an espresso shot or black coffee. Trust me, it really enhances the chocolate flavor, but you won’t taste the coffee.
How to store leftovers
To store: Leftover cake can be stored in an airtight container and kept at room temperature for 3-4 days or in the fridge for up to two weeks. To freeze: If I want to keep my cake fresher for longer, I’ll wrap any leftover slices in parchment paper and store them in a freezer-safe container. They’ll keep in the freezer for up to 3 months.
More impressive cake recipes to try
Flourless chocolate cake– Rich, flavorful, and made with only 4 ingredients. Snickerdoodle cake– Full of sweet cinnamon flavor and layered with vanilla frosting. Chocolate raspberry cake– The best of both worlds. Healthy carrot cake– One of my family’s favorites.